Getting started
| Material | Amount | Dimension/ size/weight/type (if applicable) | Alternative (if applicable) |
| Fabric | 1 | Any | - |
| Sponge | 1 | - | - |
| Thread Ball | 1 | - | - |
| White Glue | 1 | - | Any other glue |
| Duct Tape | 1 | - | - |
| Marker | 1 | Black, permanent | - |
| Thumb pins | 10 | - | - |
| Plastic Bag | 1 | - | - |
| Elfy | 1 | - | Glue Gun |
| Cardboard | 1 | - | - |
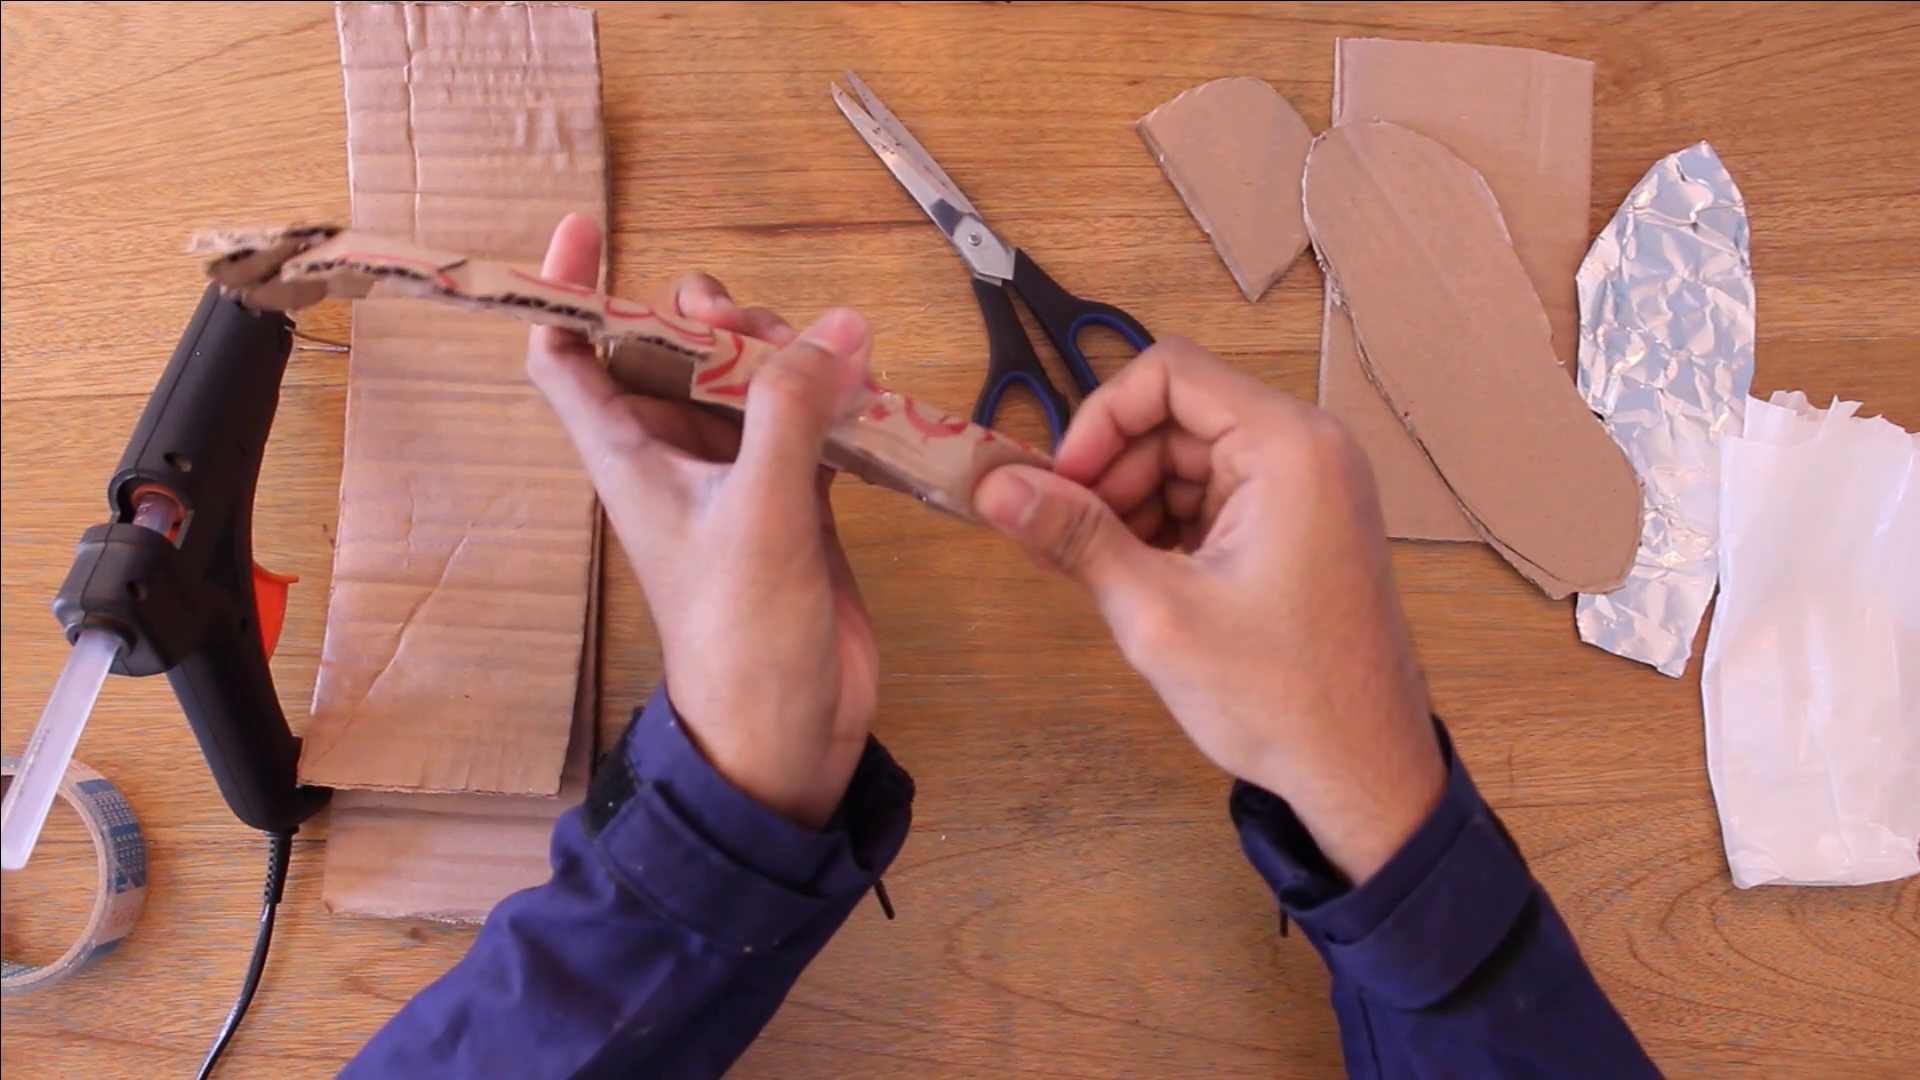
STEP 1: Trace out your foot on cardboard then draw an outline about one inch bigger than your foot outline in all directions.

Make a few cuts till it becomes like this. Bend it upwards and stick it together with tape.


STEP 2: You can add layers of plastic, cotton, wool, tin, aluminum, tennis ball, etc.

You should not tape/fix it to the sole, as it might move up and down on the sponge pieces. Think of ways it can be attached but is still movable.

Use rubber bands to keep it in its place!
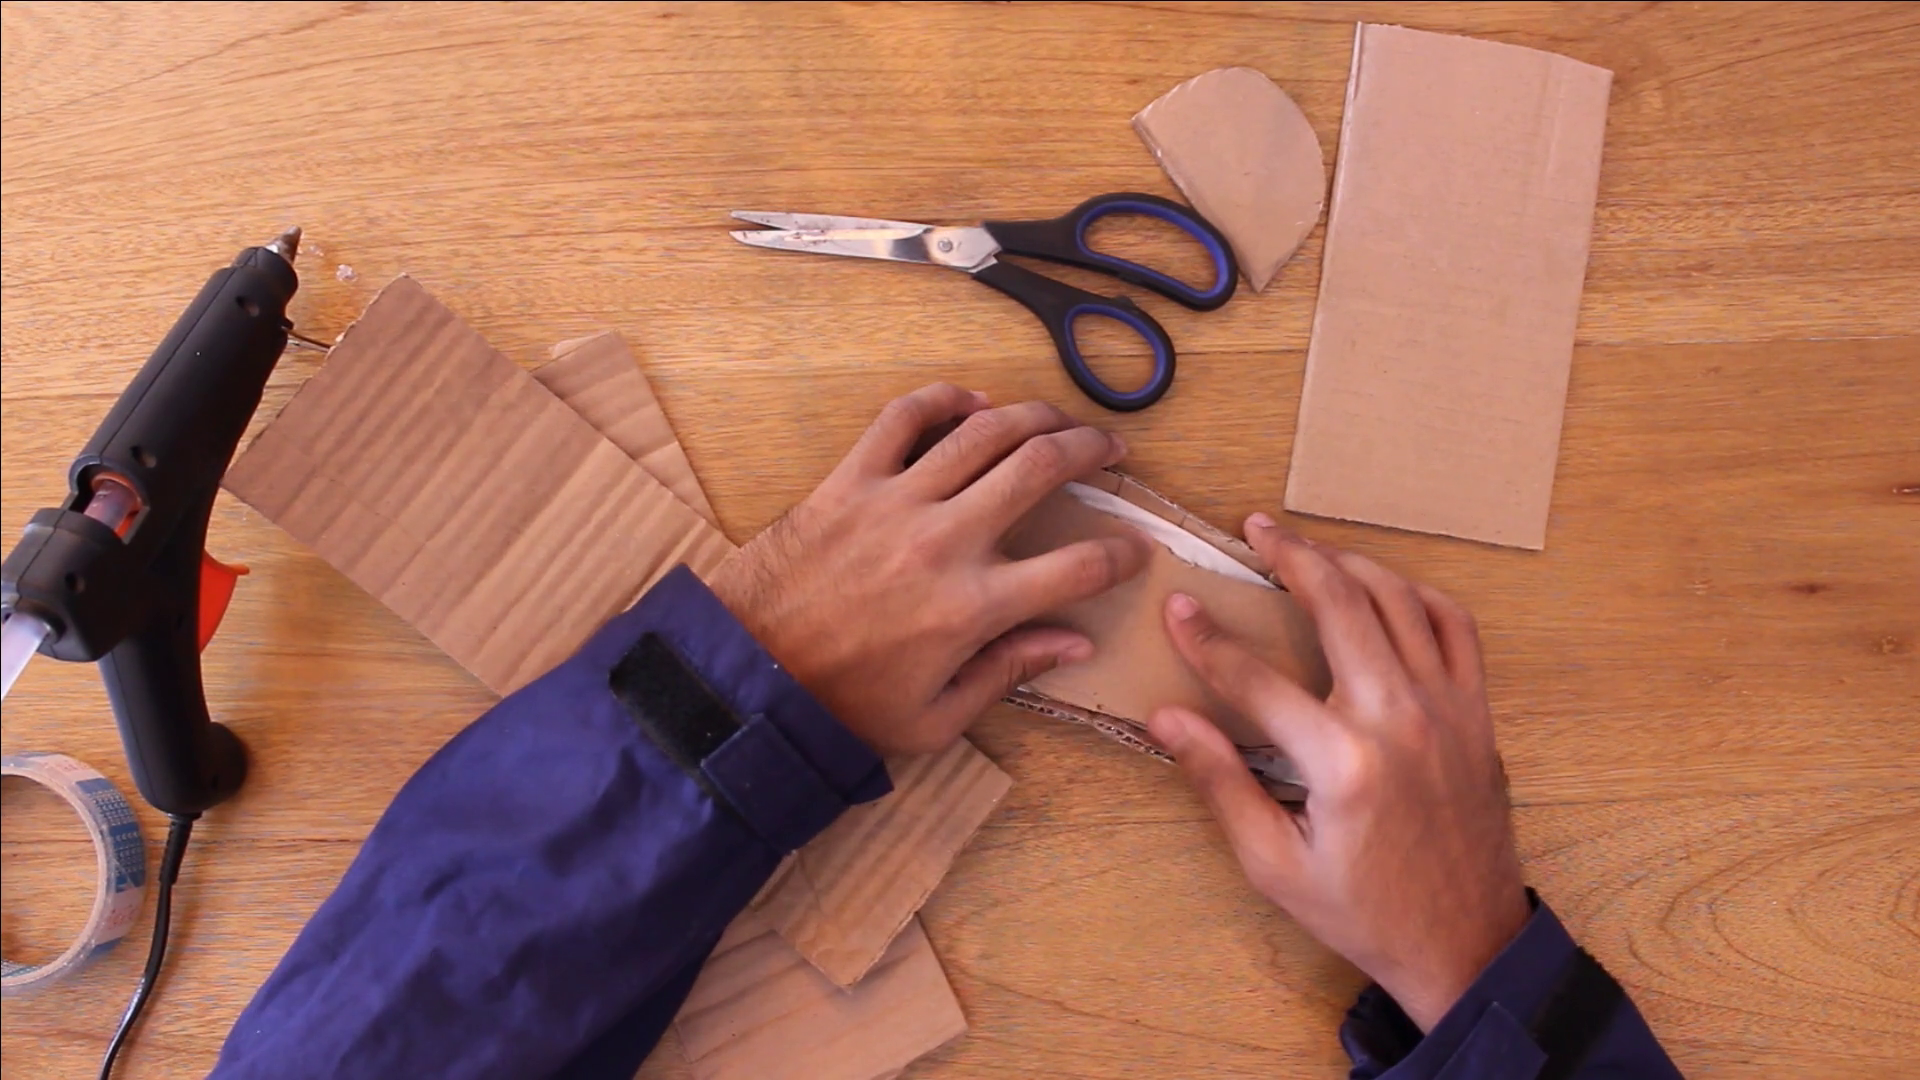
STEP 3: Cut a piece of cardboard to make the walls of your shoe. Take the dimensions according to the size of your sole.

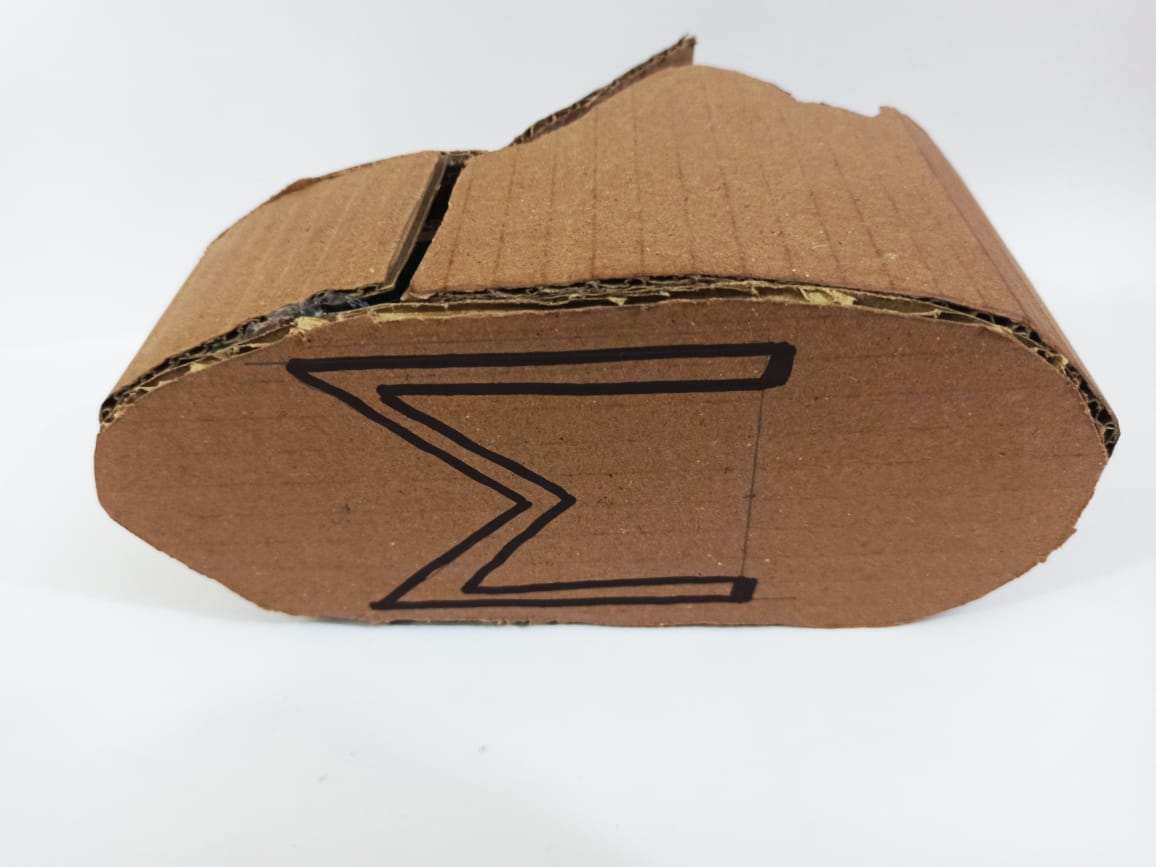
Skip 'step 4' for an example. Leave about 3 inches in the middle and draw any pattern of your choice.

STEP 4: Stick the sidewall to the shoe like this. It should not cover the front portion.
.jpg)

STEP 5: Cut another piece of cardboard of width 2 inches and apply glue at one of the sides.

Measure the length of the portion on the shoe that is not covered with the walls. That's the length of this piece. Stick it to the front part of the shoe.

The top area at the front side needs to be closed with a cap. Measure it on both sides and cut out a piece of the required shape. This is the top cover of your shoe.

STEP 6: Cut a piece out for the sole of the shoe.

STEP 7: Next, apply glue at the 3 inch part and stick it under the top cover of the shoe.


Catch a breath!

Attention:
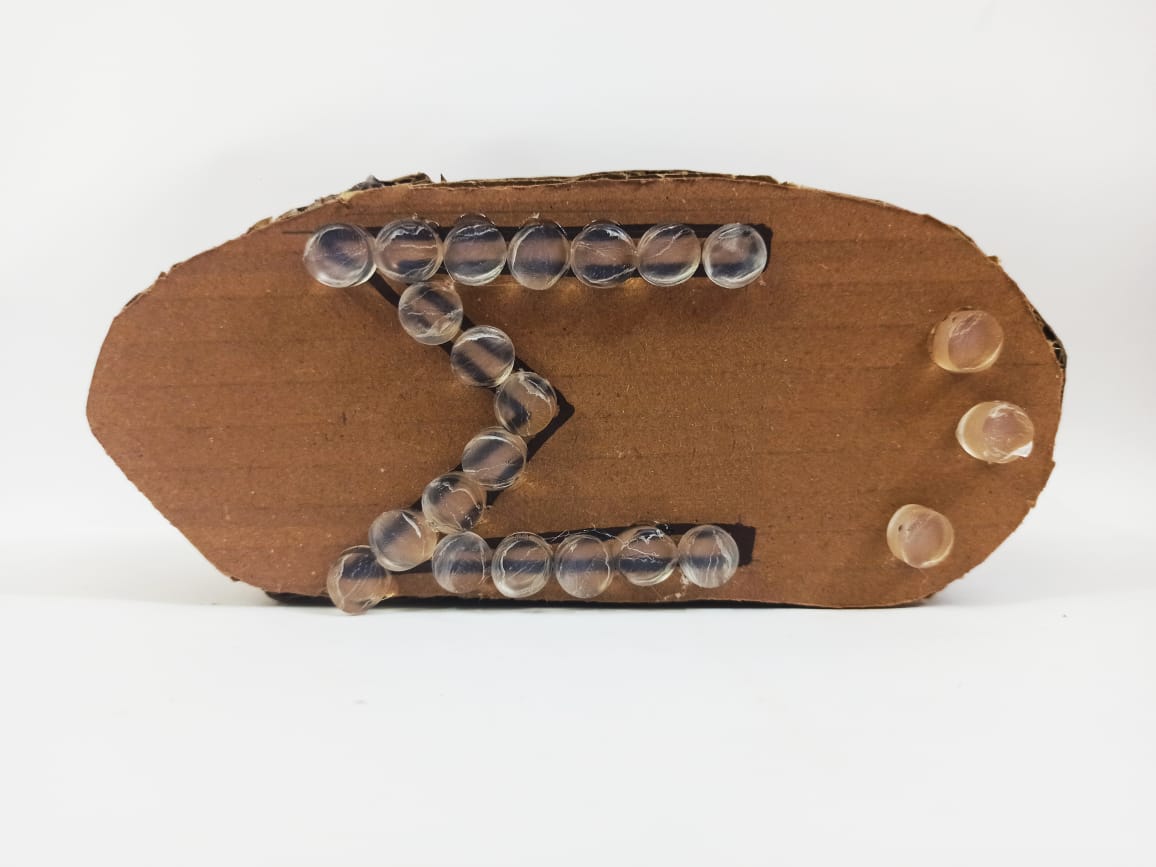
The astronaut's shoes must have a firm grip to the ground.
So, we have to create a pattern. Your pattern should be unique and distinguishable. You can also make a customized pattern with your initial/name.
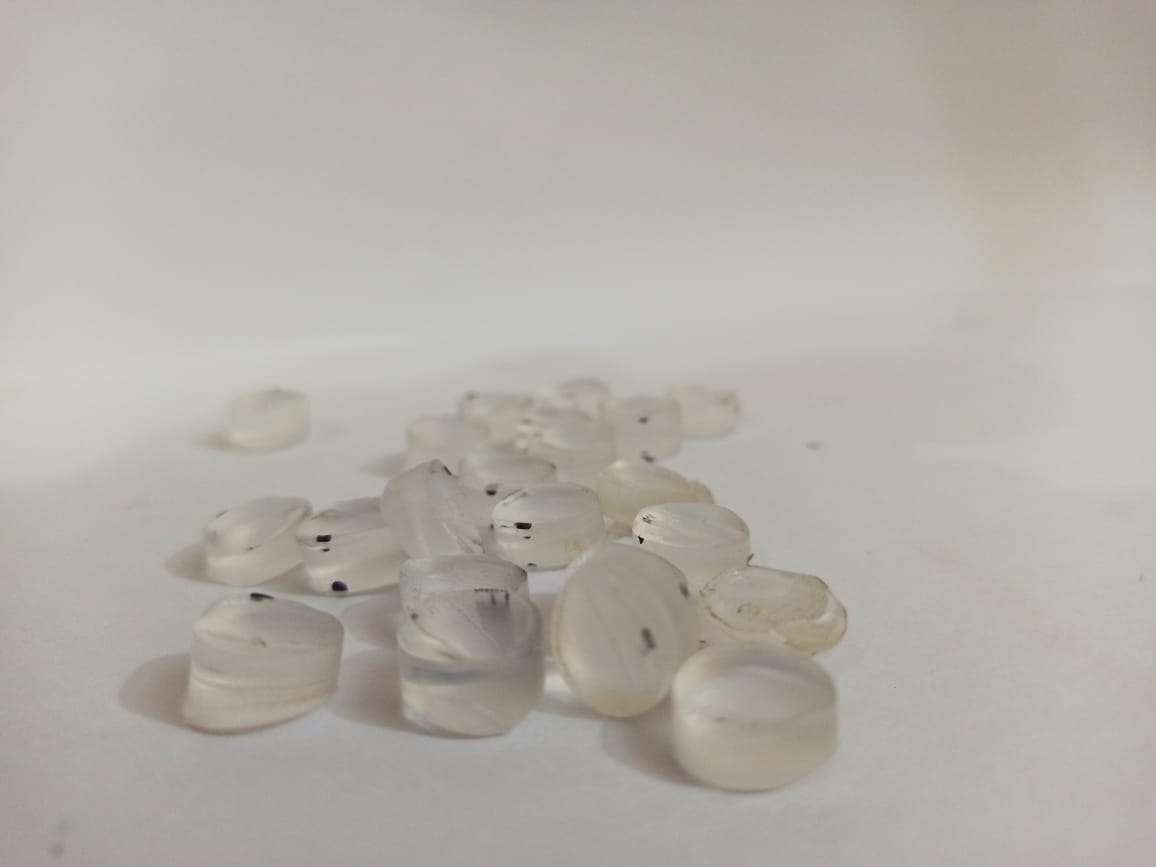
STEP 8: Take a glue stick and cut it into small equal pieces. You can also use your old shirt's buttons. You can also use your old shirt's buttons.
STEP 9: Check the stability of your shoe.
Put it on!
Walk, run and jump. Add/subtract glue stick pieces/buttons to have a perfectly balanced shoe!