Getting Started
Before making a seismic structure, we must develop a machine that will provide the necessary conditions to test our models.
Construction of a shake table
Here are the things that you would need.

| Material | Quantity | Dimension/ size/weight (if applicable) | Alternative (if applicable) |
| Cardboard piece | 2 | 8” x 12” | - |
| Wooden skewers | 25-30 | Standard (see image below) | - |
| Rubber bands | 4 | Stretched length = 12” | - |
| Tongue depressors | 4 | Standard | Ice cream sticks |
| Modeling clay dough | 1 or 2 packets (Check the weight) | 250g | - |
| Binder clip | 2 | 15mm-20mm | - |
| Tennis balls | 2 | Standard | - |
| Optional: Erasers | 5-8 | Standard | - |
STEP 1: Put the two tennis balls on one of the cardboard sheets.

STEP 2: Put the other cardboard on the top and wrap the two rubber bands around them, one on either side.


STEP 3: Take an icecream stick and cut it in half.
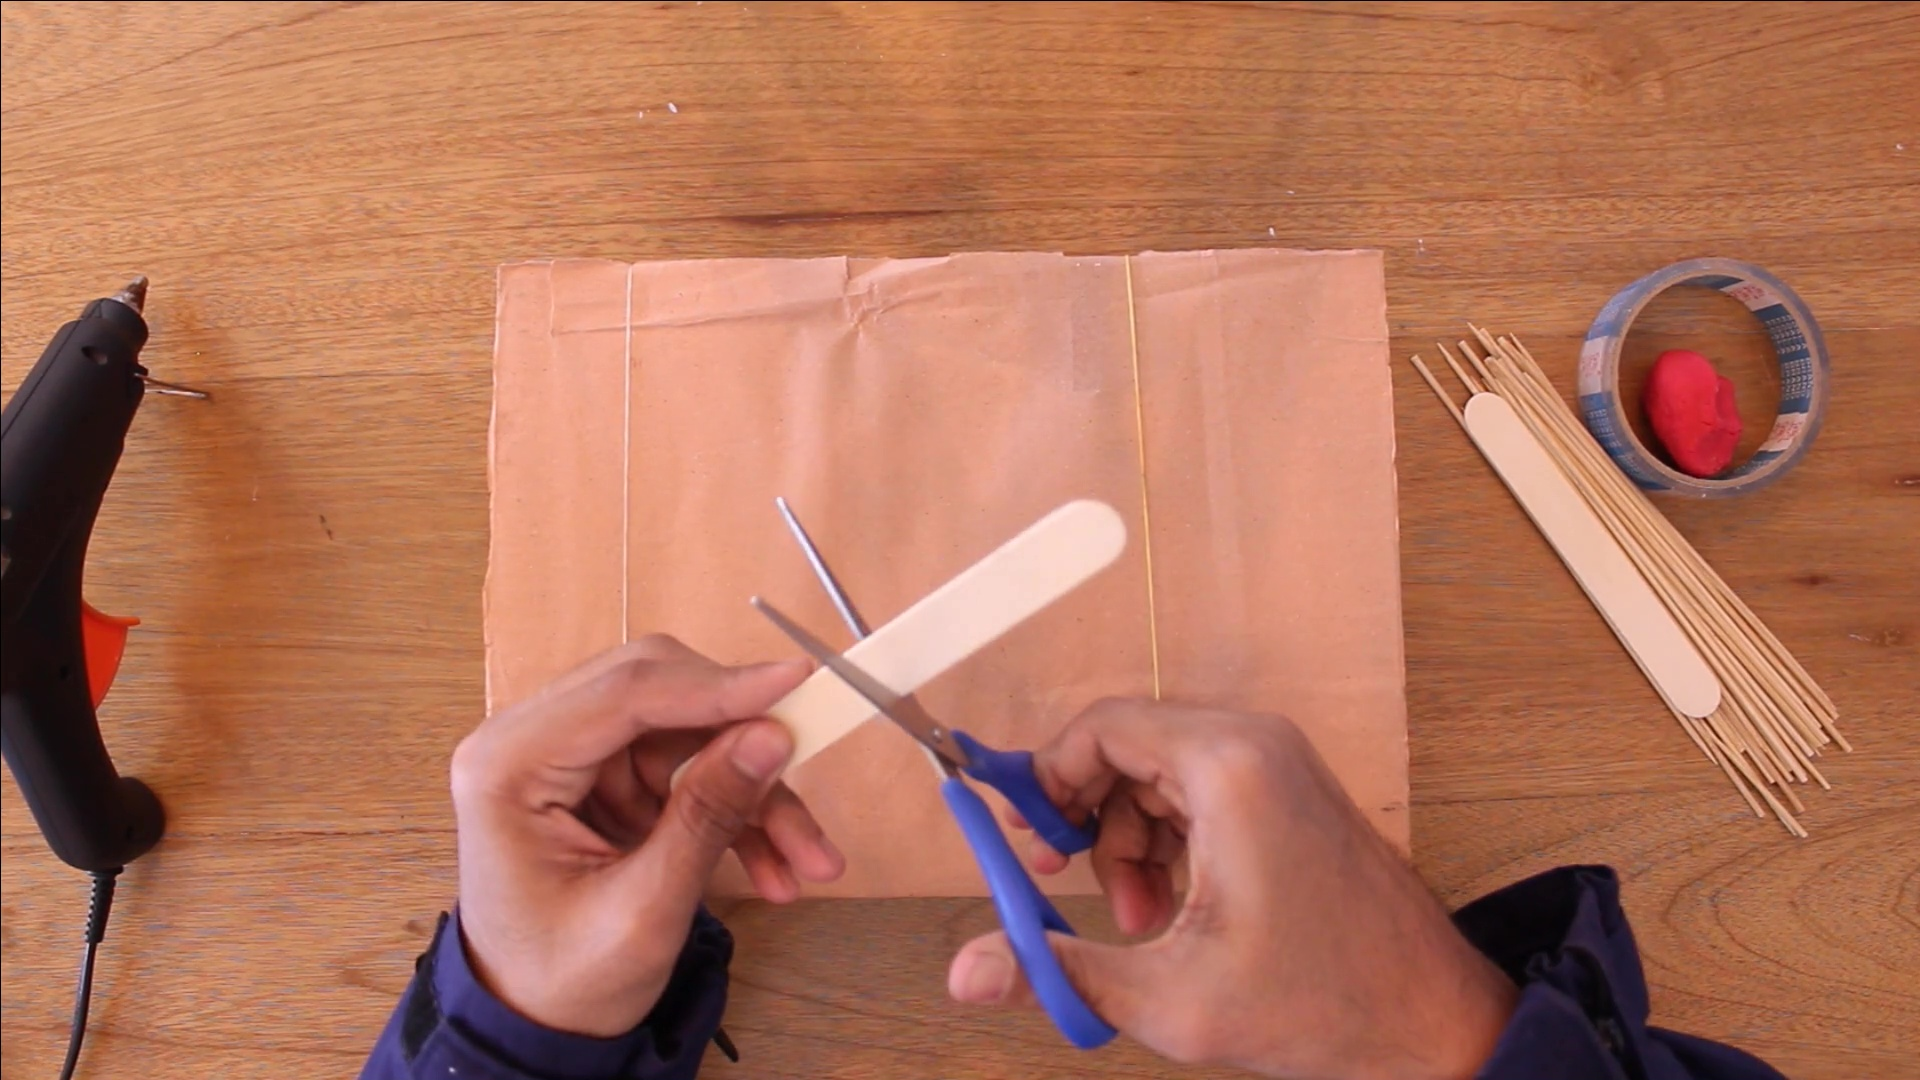
STEP 4: Stick the two cut pieces of icecream stick to one end of the upper cardboard using a glue gun.


STEP 5: Make a few round pieces of clay.

Did you know?
It was recognized as early as 350 BC by the Greek scientist Aristotle that soft ground shakes more than hard rock in an earthquake. Therefore we do not make a base out of clay; rather, we use a concrete base.
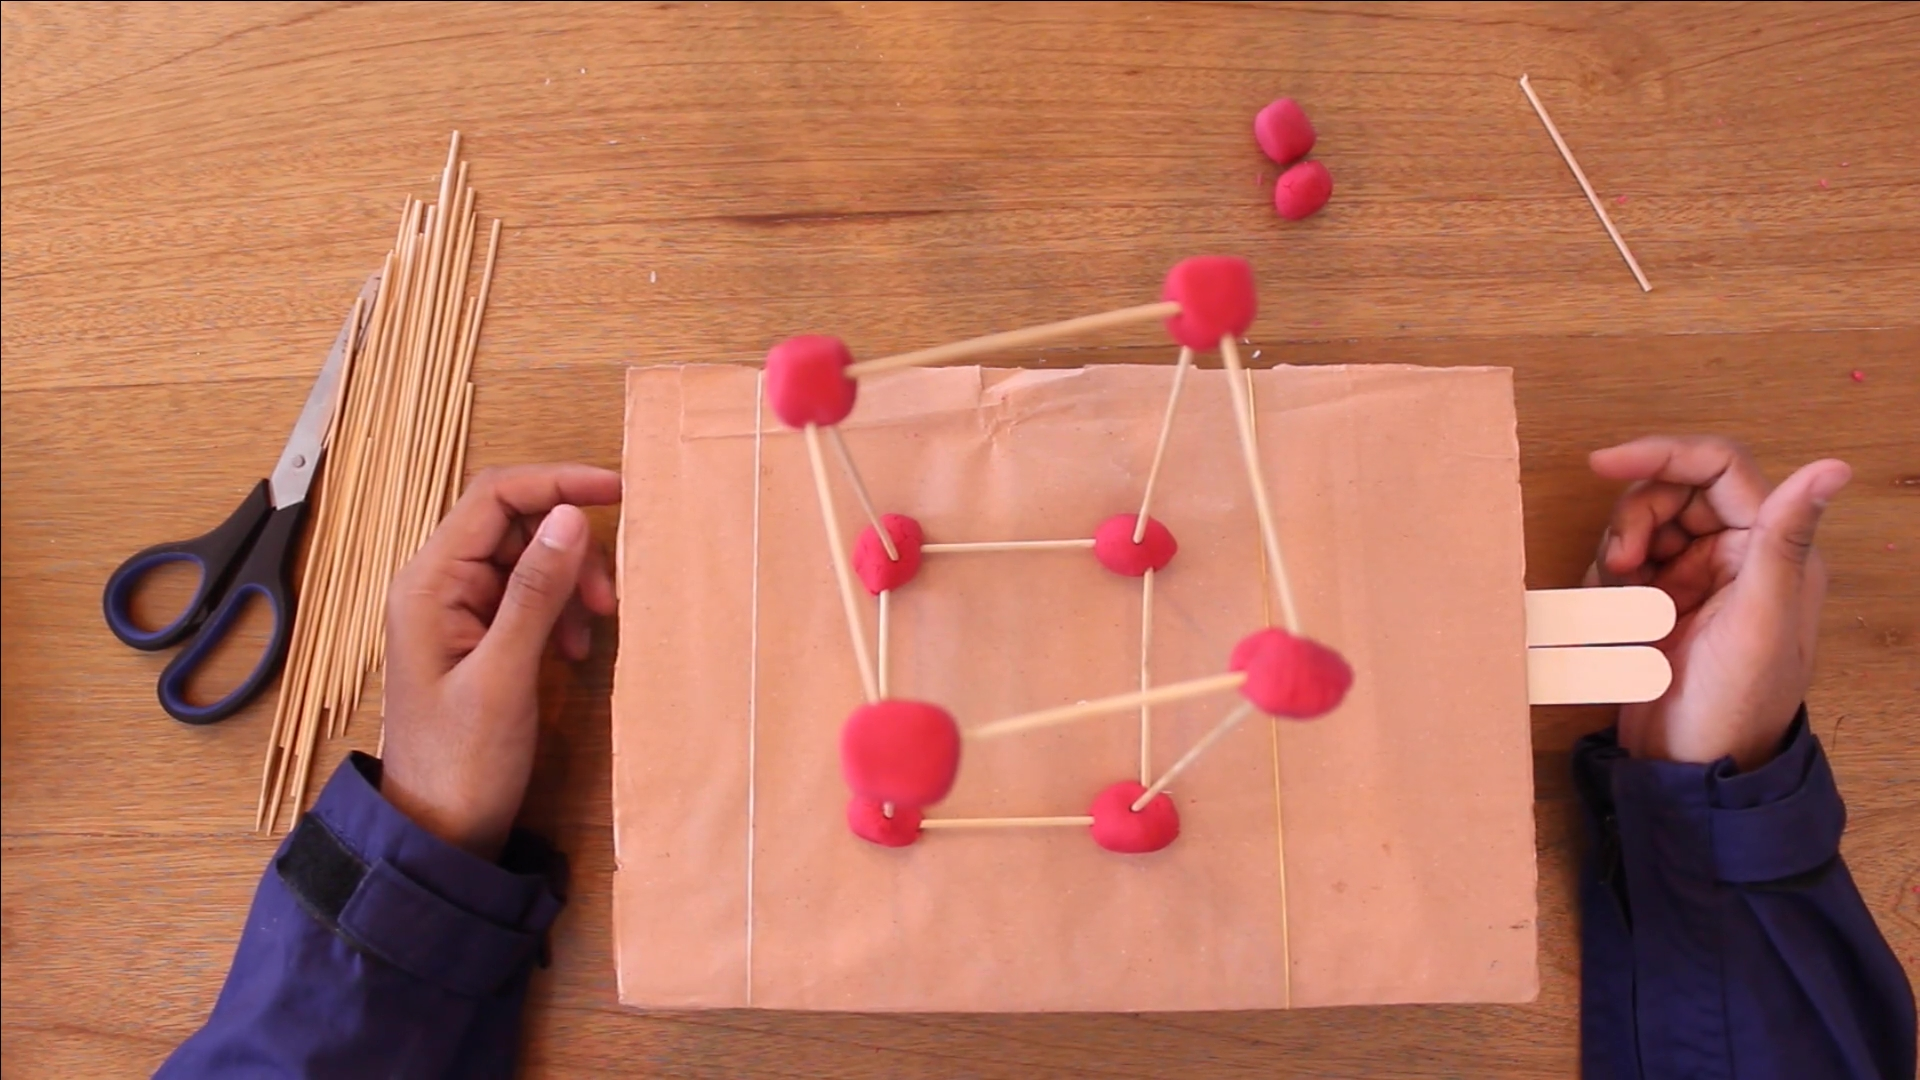
STEP 6: Take one of the clay balls and insert a skewer in it.

STEP 7: Add more clay balls and sticks to form a square.

STEP 8: Let's make another one like this.

STEP 9: Let's add pillars to one of our square rings.


STEP 10: Let's add the other square ring on top of it.


STEP 11: Now carefully lift the model and place it on the shake table.

And you are done!!