The Phoenix lander landed on Mars on May 25, 2008. Mission scientists used instruments aboard the lander to assess the local habitability and to research the history of water there!
NASA
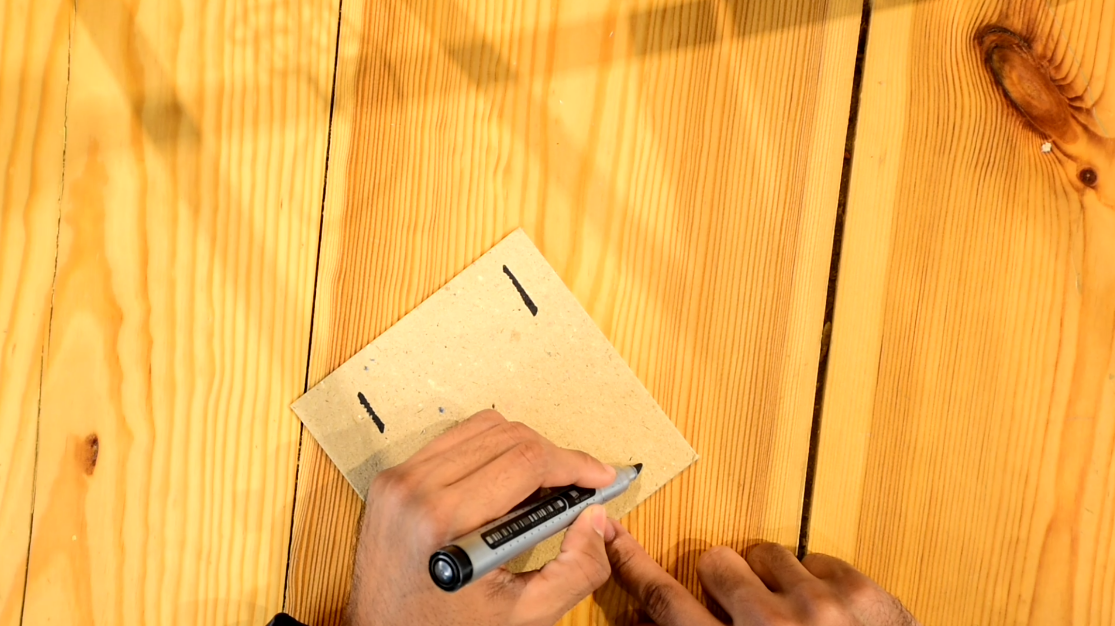
STEP 1: Take one of the cardboard pieces and score it with either the scissor or a box cutter on the four corners.

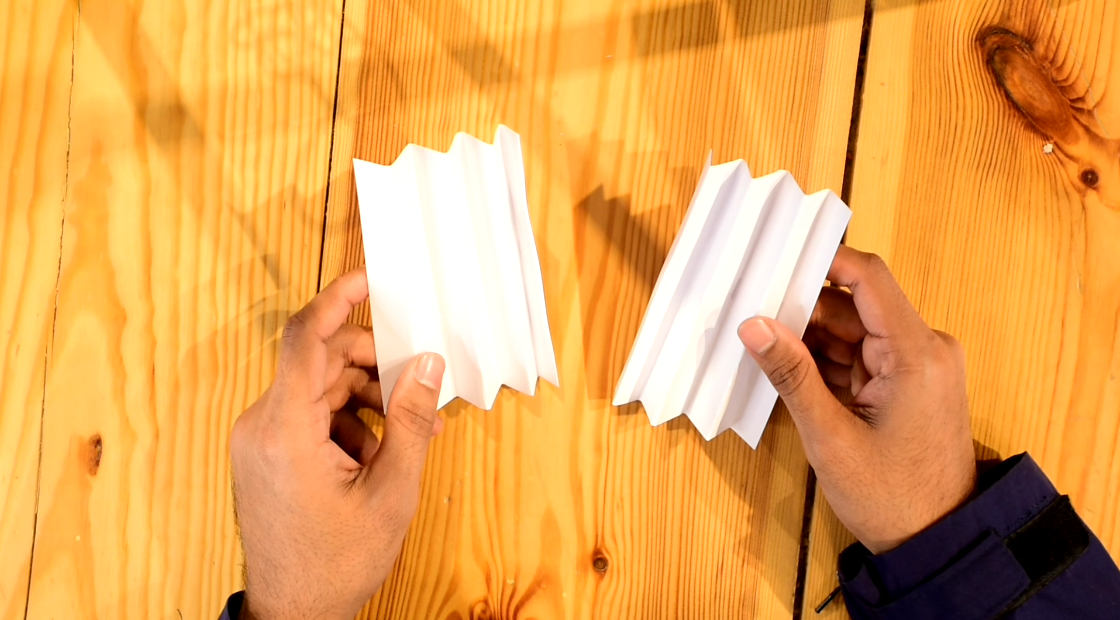
STEP 2: Find the white card sheets and start bending them like a Japanese fan.

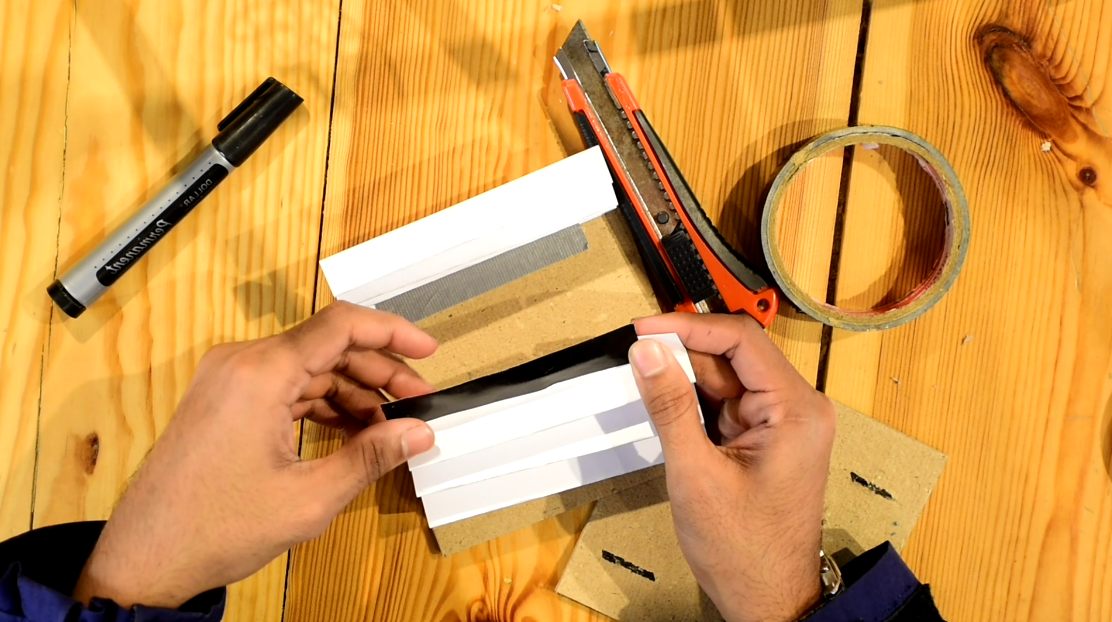
STEP 3: Now stick them to the second cardboard piece with tape like this.
Do it for both sides.

STEP 4: Next you need to attach the other card with the score marks like this. The card with the marks is on the bottom side. This will be the chassis (frame) of your lander.


STEP 6: Next grab the two popsicle sticks and cut them both in half like this.

You should have four pieces of sticks now.
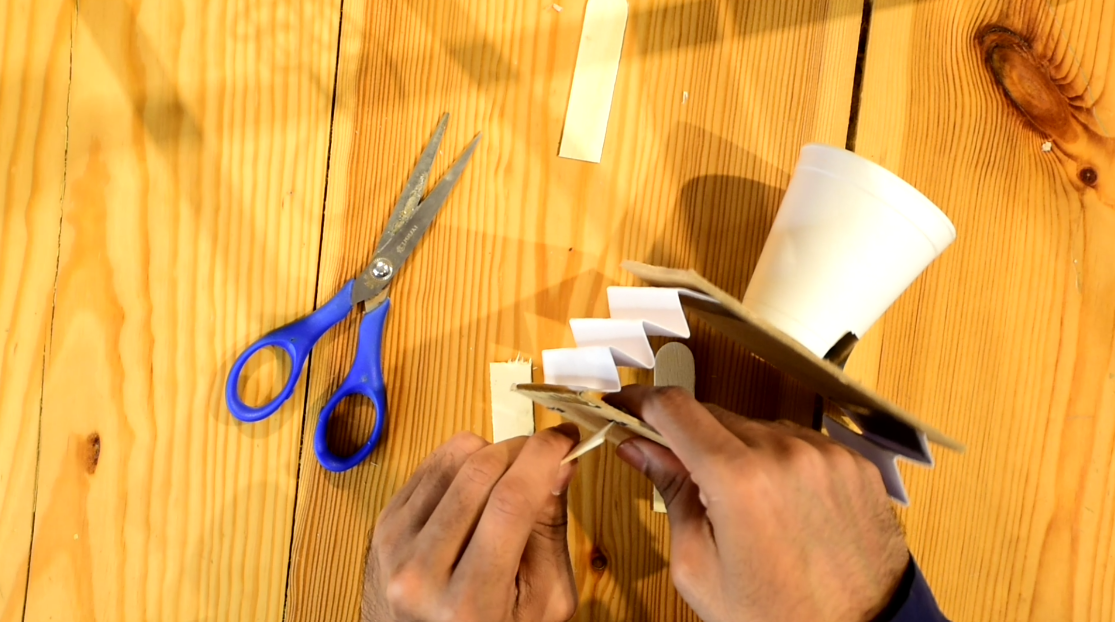
STEP 7: Now you need to attach the cup to the chassis on the top side (the side without the holes). This will be the cabin of the lander and in it will be the payload.
NOTICE HOW THE CABIN IS CENTRED ON THE TOP AND ISOLATED FROM THE BOTTOM WITH SOFT, BOUNCY SPRINGS.

Stop and check:
DOES THE PAPER CUP WOBBLE? HOW CAN YOU FIX IT?
Use tape or double-sided tape to bind it down firmly.
Make sure the spring is made from an odd number of folds. Make sure both springs are attached in the way shown in the picture above. Make sure the springs are equal and equally compressed.
STEP 8: Next, you should put the cut pieces of Popsicle sticks into the scores on the bottom of the lander. These will be the feet, and they provide stability.